In this topic
- Introduction
- Accessing the Add New Employee screen
- Enter Compulsory Details
- Optional configuration information
- Issue the onboarding link
Introduction
This topic describes the process of issuing your new hire with their unique link to complete their onboarding wizard.
Accessing the Add New Employee screen
To access the Add New Employee Onboarding Screen, you will need to:
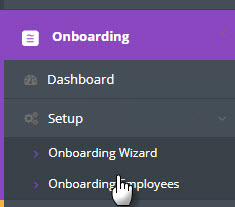
- Select Onboarding -> Setup -> Onboarding Employees in the left hand menu
- Click the Add New Employee button at the top right of the screen.

Enter Compulsory Details
On the add new employee screen, you will need to enter the following minimum information about your new hire:
- Given Name
- Family Name
- Personal Email
- Onboarding Manager
The Onboarding Manager dropdown is populated automatically by any user who has the Onboarding Manager web role. The Onboarding Manager will recieve notifications when the employee completes their onboarding.
After this information has been entered, if you don’t want to add any optional information, you are able to issue the employee’s Onboarding Email/link by clicking the Initiate Onboarding button.

NOTE: The email address that you specify will be the destination for the employee’s onboarding email. You should use an email address that the employee has access to before they start working. For example, you would normally use the employee’s personal email address rather than their new work email address.
IMPORTANT: We have been made aware that users with a Bigpond.com email address may not recieve their onboarding email as Bigpond’s systems are blocking the email. We are continuing to work with Bigpond to identify the cause and/or what changes can be made to allow Bigpond to accept the onboarding emails, however, as yet there is no solution. No other email providers are known to block the onboarding email.
Optional configuration information
The following information is not required to onboard a new employee, but can be used to enhance the new employee’s experience during the onboarding process.
Contract and Start Date
You can optionally upload the employee’s Contract and/or their Start Date in the Employee Details section.
Uploading a contract will make allow the employee to digitally accept it during their onboarding wizard. If no contract is uploaded, the contract acceptance will be ommitted from their wizard.
By entering the employee’s Start Date, Ready pay (powered by ePayroll) can send notification emails if the employee is approaching their start date but has not completed their onboarding, minimising potential delays with their first payroll.
My Task List
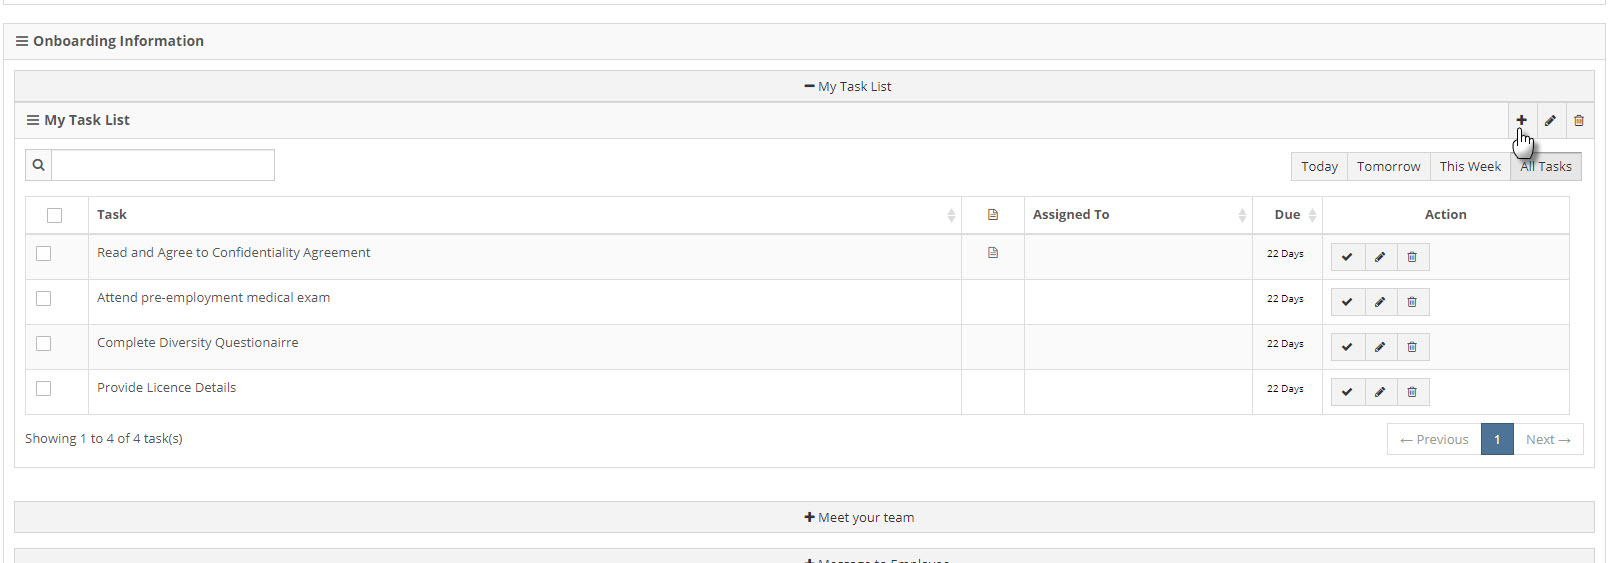
The task list feature allows you to list any additional tasks that you would like your new starter to complete as part of their onboarding.
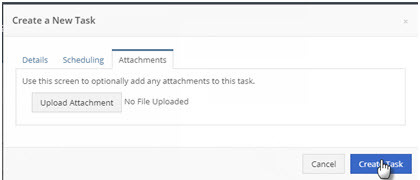
To add a new task, expand the My Task List section and click the Add button at the top right of the tasks widget.
Give the task a short Name, a Type and a Description.

In the Scheduling tab, enter the due date for the task and indicate how many days prior to the task due date that the employee should receive a reminder.
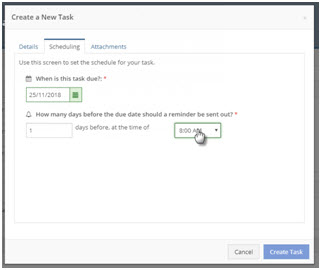
On the Attachments tab, upload a document into the task if required. Your new employee will be able to download any document that you attach.
Click the Create Task button.
Meet Your Team
The meet your team widget allows you to indicate which staff within your organisation will be working with the employee.
Depending on your onboarding wizard configuration, the selected team members will be introduced to the new employee when they complete the onboarding wizard.
For the best experience for your new starter, all of the selected team members should have a photo in the system and a short description specified on their Personal Details screen.
To select team members, move them from the Current Employees list on the left to the Onboarding Team Members list on the right.

Message from Buddy/Manager
You can include a message from your new starter’s buddy and their new manager. The messages are typically used to welcome your new employee to your organisation.
A buddy is some one within your organisation who will provide support and guidance to the new employee after they start.
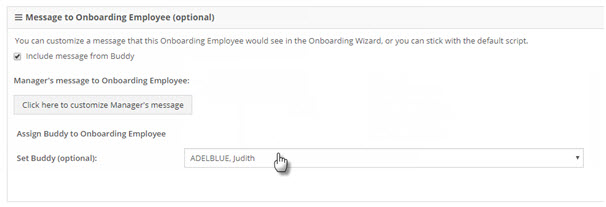
To display the message from the buddy during the wizard, tick the Include message from Buddy tickbox and then choose the employee’s buddy from the Set Buddy dropdown.
Note: The Set Buddy dropdown will only list employees who have been selected in the Onboarding Team Members list in the Meet Your Team widget.
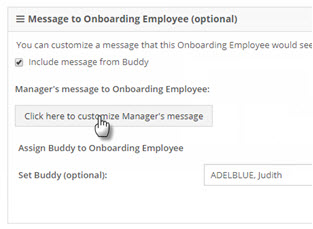
To customise the message from the new employee’s manager, click the Click here to customise manager’s message button.
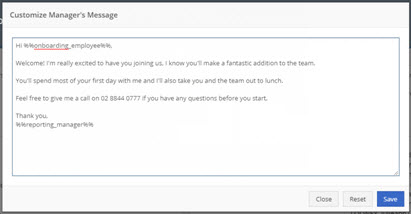
In the dialog, enter the message that the manager would like to be displayed to the new employee then click the Save button.
Issue the onboarding link
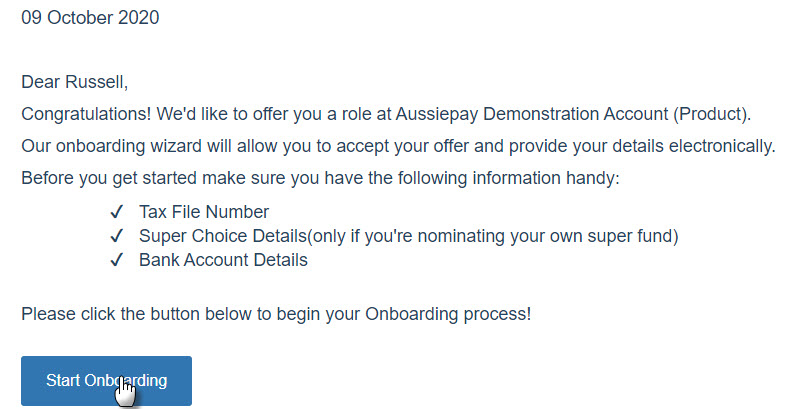
After completing these items you can issue the employee with an email containing their unique onboarding link by clicking the Initiate Onboarding button at the bottom of the screen.

The employee will receive an email with their unique link: