
In this topic
Introduction
This help topic covers the steps involved to add an employee to Ready pay (powered by ePayroll).
NOTE: In order to complete this process you must have the Employee Authority web role.
Process
IMPORTANT: If you have collected your employee information using the employee onboarding module, ensure that you have followed the instructions in the Finalising an employee help topic so that employee data is prefilled.
- Select the Employees menu item
- Select New Employee
-
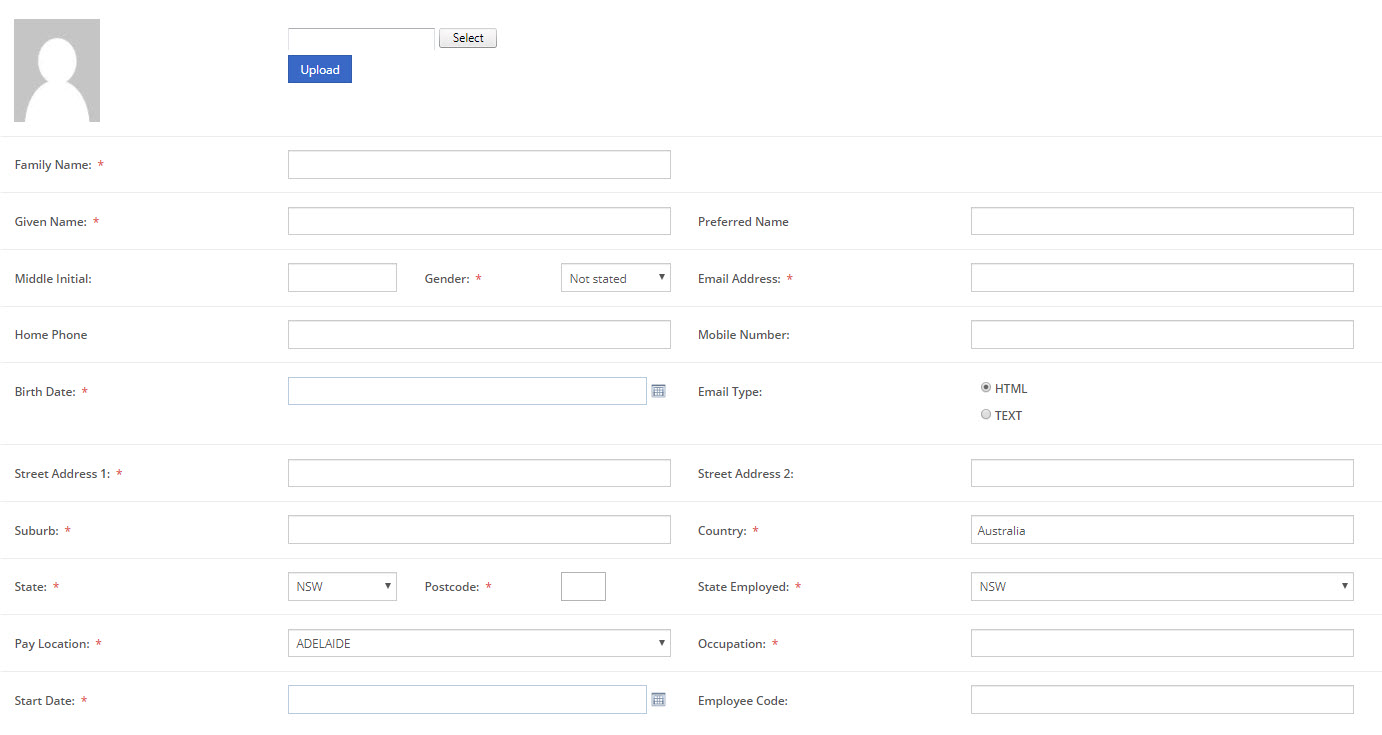
Enter Employee General Information.
NOTE: Fields with an asterisk are mandatory.
NOTE: An email address is only mandatory if employee is to be assigned web roles.
-
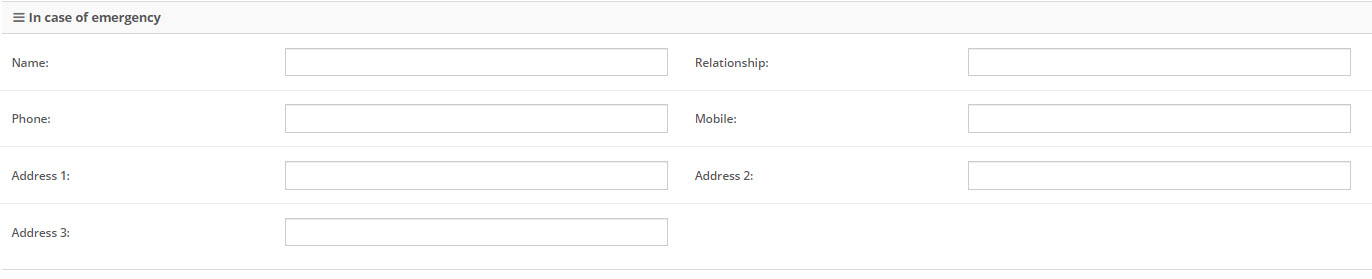
Enter emergency details (not compulsory)
-
Assign web roles to the employee

NOTE: Most employees will only require the Employee Self Service User, Leave User, Expense User and/or Synchronise User web roles.
-
Select appropriate Payment Group and enter Salary details

-
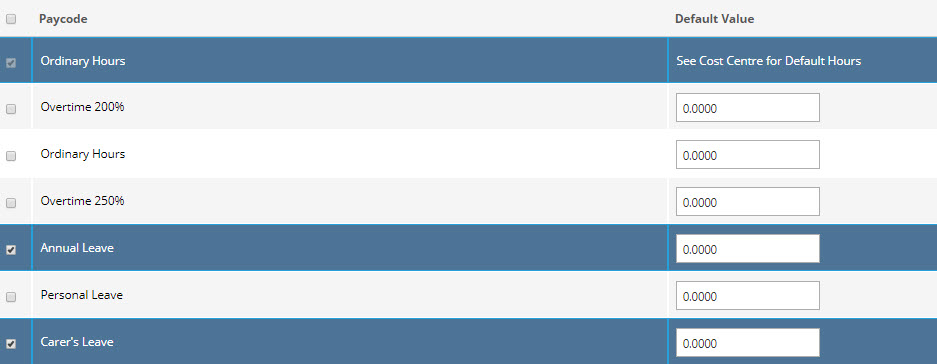
Select pay codes.
NOTE: The pay codes available will depend on the Payment Group selected.
NOTE: If your employee has a standard amount that will be paid every payroll for a paycode (e.g. a standard car allowance each payroll) then enter that amount in the Default Value column.
-
Select the Superannuation fund and enter the membership number

-
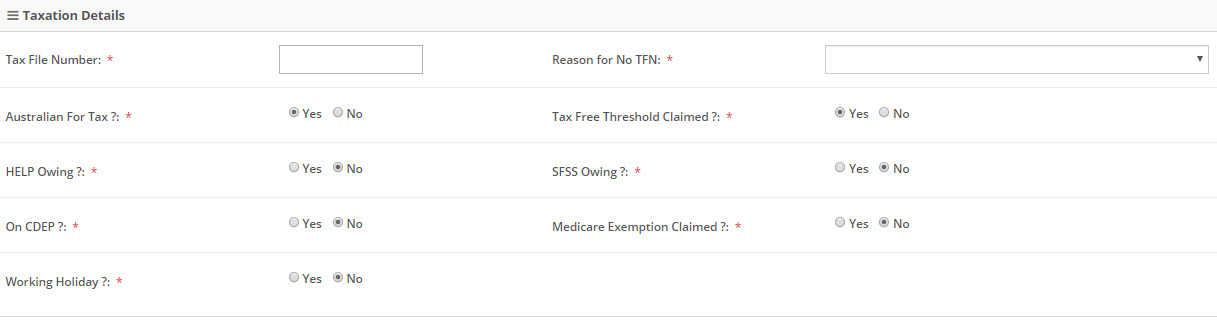
Enter the employee tax details
NOTE: If you’re employee doesn’t have a Tax File Number (TFN), select a reason from the Reason For No TFN dropdown.
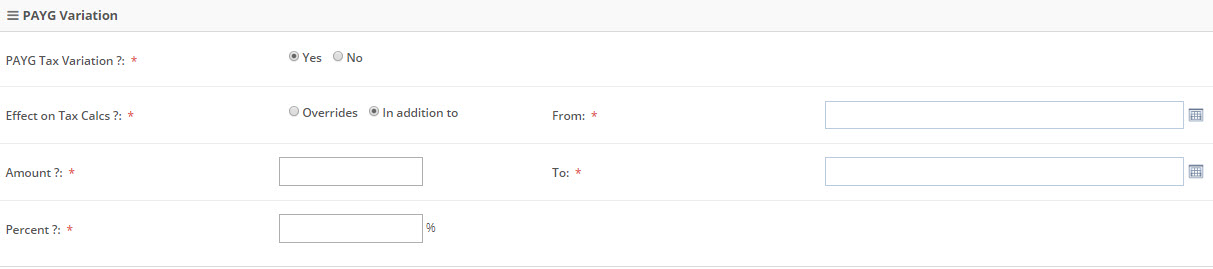
- Select Yes to PAYG Tax Variation if the employee would like to pay additional tax or holds a tax variation
- If the employee has a tax variation select ‘Override’
- If the employee has additional tax select ‘In addition to’
- Enter an amount or percentage
- Enter From and To dates
-
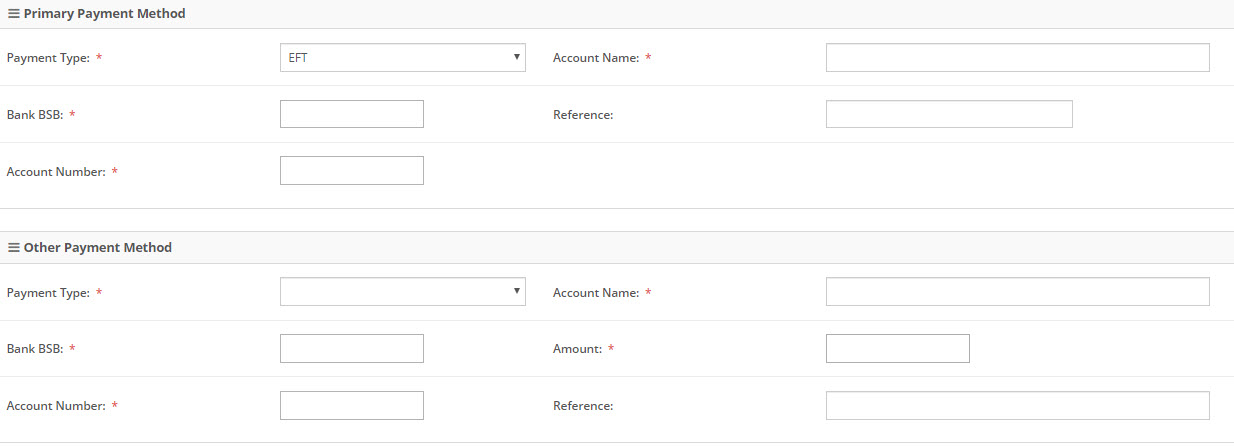
Enter the Bank Account details for the employee.
NOTE: Ready pay (powered by ePayroll) is able to accommodate multiple bank accounts, however, only two are available when setting up the employee. To add additional account, Save the employee and then continue to Edit Payment methods.
-
Select cost centre and add the default hours
NOTE: The new employee screen allows you to specify 3 cost centres for an employee. If you need to split the employee’s pay across more than 3 cost centres, you’ll need to add the extra cost centres after creating the employee record (Managing Employee Cost Centres).

-
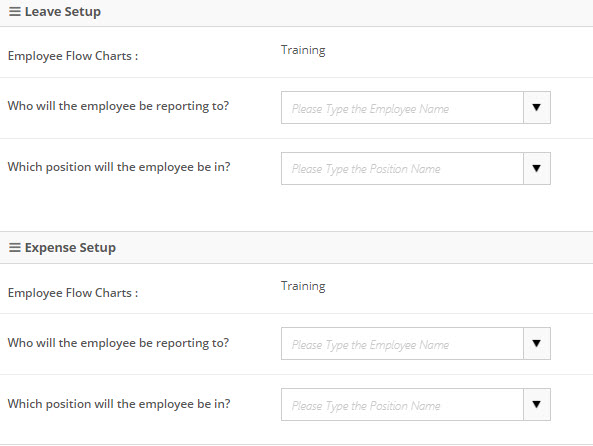
Configure an employee’s position for leave and/or expense approvals
NOTE: This section will only be visible if you have assigned a user the Leave User or Expense User web roles at step 5 above.
- Select Save Employee