
In this topic
- Introduction
- Viewing Leave Applications in Synchronise
- Applying for Leave as an Employee in Synchronise
- Actioning Leave Applications in Synchronise
Introduction
This topic describes how Synchronise and Leave Management integrate.
NOTE: Synchronise and Leave Management talk to each other, so any leave that is applied for through Leave Management will automatically be visible in Synchronise and any leave that is applied for through Synchronise will be visible in Leave Management.
Viewing Leave Applications in Synchronise
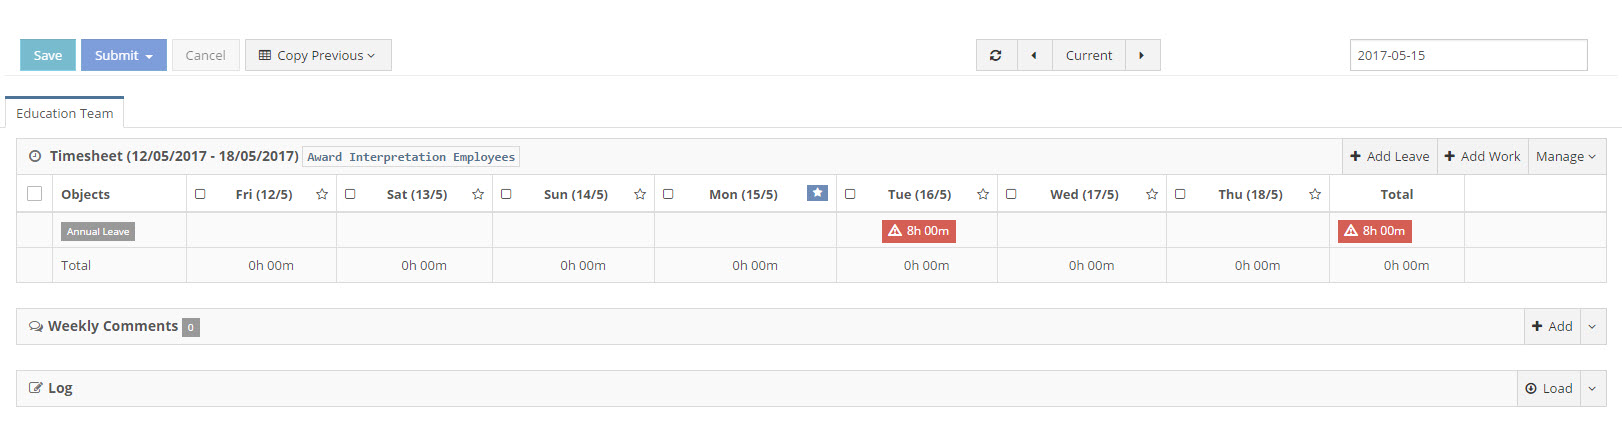
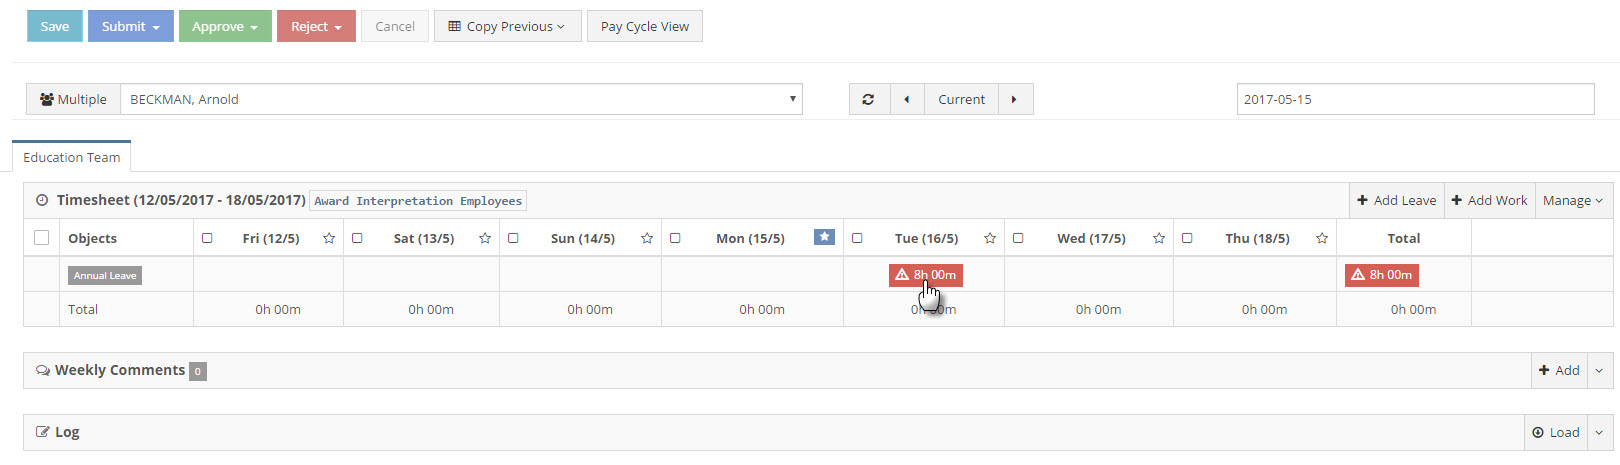
An employee or manager can see any leave hours within the Timesheet Entry screen.
This will show as a ‘leave’ object in the Timesheet Entry screen.
If the Leave Application is not approved, it will show in red.
After a Leave Application is approved, it will show as green and will become a work type that can be interpreted.
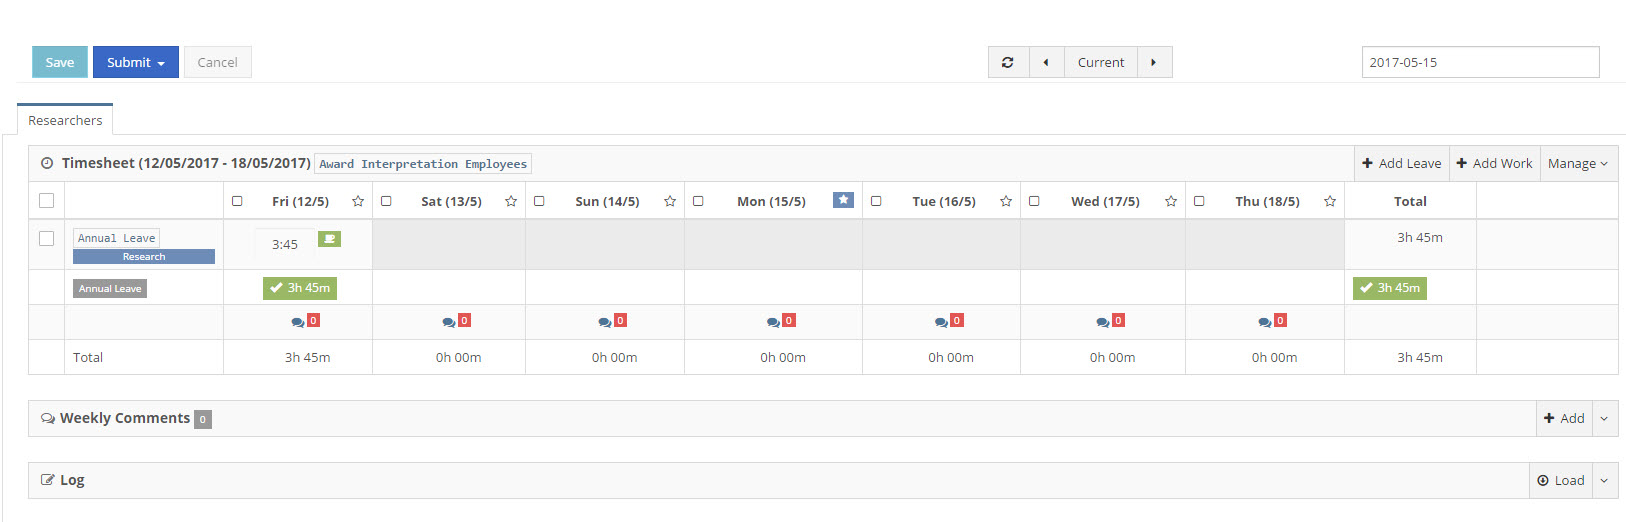
Clicking on the Leave Application will open the Leave Application Dialog showing details of the leave and allowing the Leave Application to be Cancelled, Approved or Rejected (depending on the user’s access level).
Applying for Leave as an Employee in Synchronise
Synchronise allows you to apply for leave directly from timesheets screen.
To apply for leave using Synchronise:
- Go to the Timesheets -> Entry screen
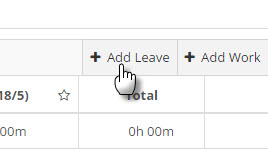
- Click the Add Leave button
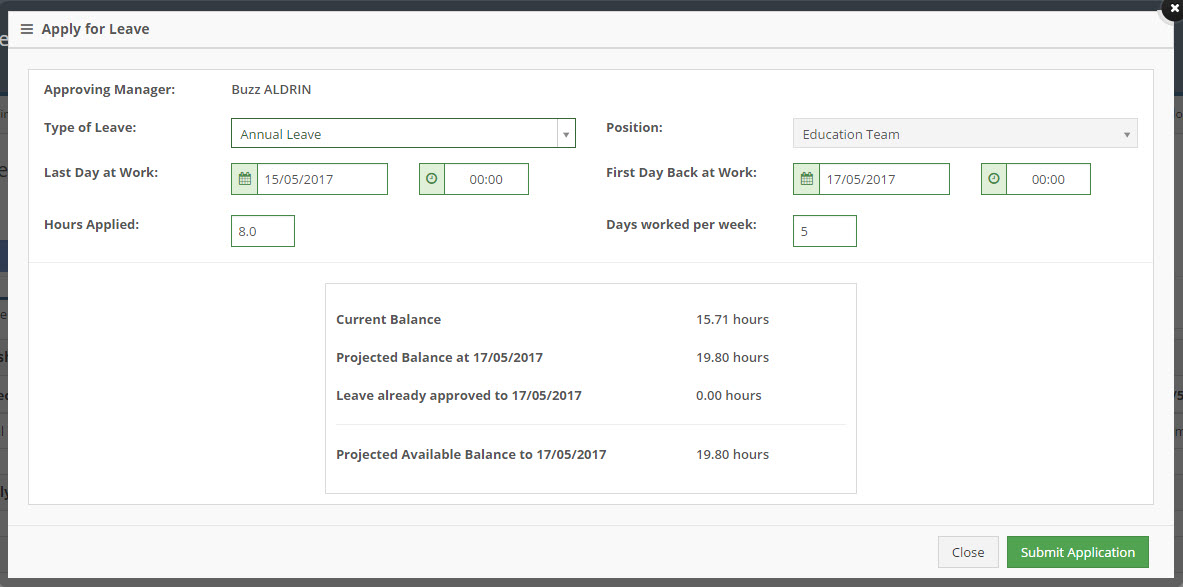
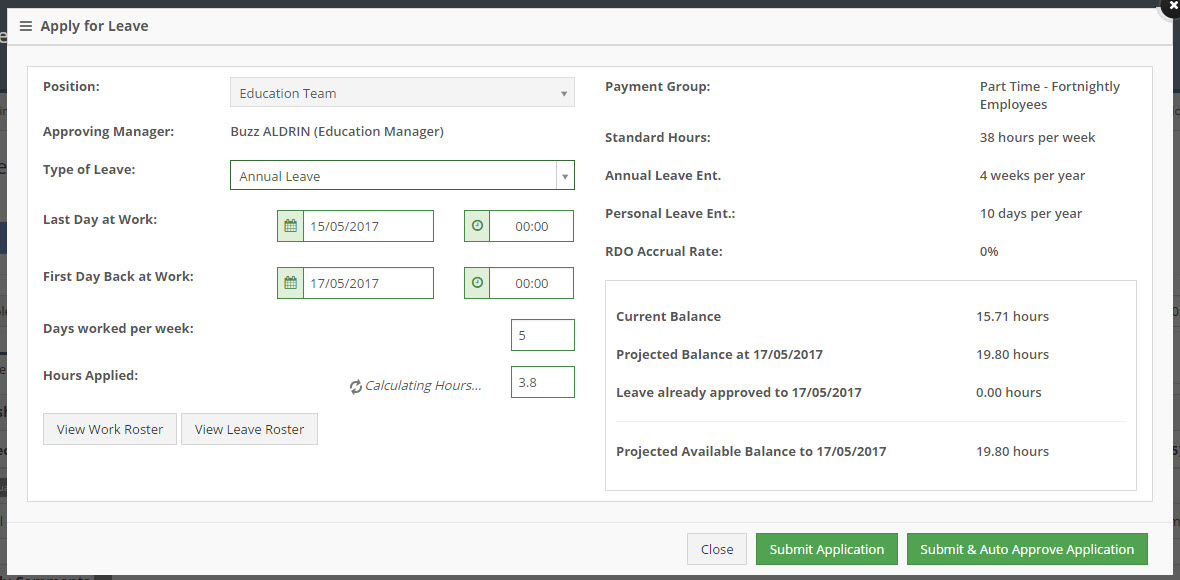
- In the Apply For Leave dialog:
- Select the Type of Leave
- Enter your Leave Date/Times
- Update the Hours Applied if required
- Update the Days worked per week if required
- Click the Submit Application button
- The leave application will show on the timesheet entry screen
Actioning Leave Applications in Synchronise
As a manager, you can manage employees Leave Applications without leaving Synchronise.
To apply for leave for an employee:
- Go to the Timesheets -> Approvals screen
- Select the employee who you would like to add a leave application for
- Click the Add Leave button
- In the Apply For Leave dialog:
- Select the Type of Leave
- Enter your Leave Date/Times
- Update the Hours Applied if required
- Update the Days worked per week if required
-
Click the Submit Application or Submit and Auto Approve Application button
NOTE: The Submit and Auto Approve Application button is only available if you are the employee’s Leave Approver. Clicking this button will create the leave application for the employee and automatically approve it. If you are not the employee’s Leave Approver, clicking the Submit Application button will trigger an email to the employee’s Leave Approver asking them to action the Leave Application.
- The leave application will show on the timesheet entry screen
To approve, cancel or reject leave for an employee:
- Go to the Timesheets -> Approvals screen
- Select the employee whose leave you would like to approve
- Click on the Leave Application in the timesheet
- The Apply for Leave dialog will open
- Review the Leave Application details
-
Click the Reject Application, Cancel Application or Approve Application button to take action on the Leave Application.
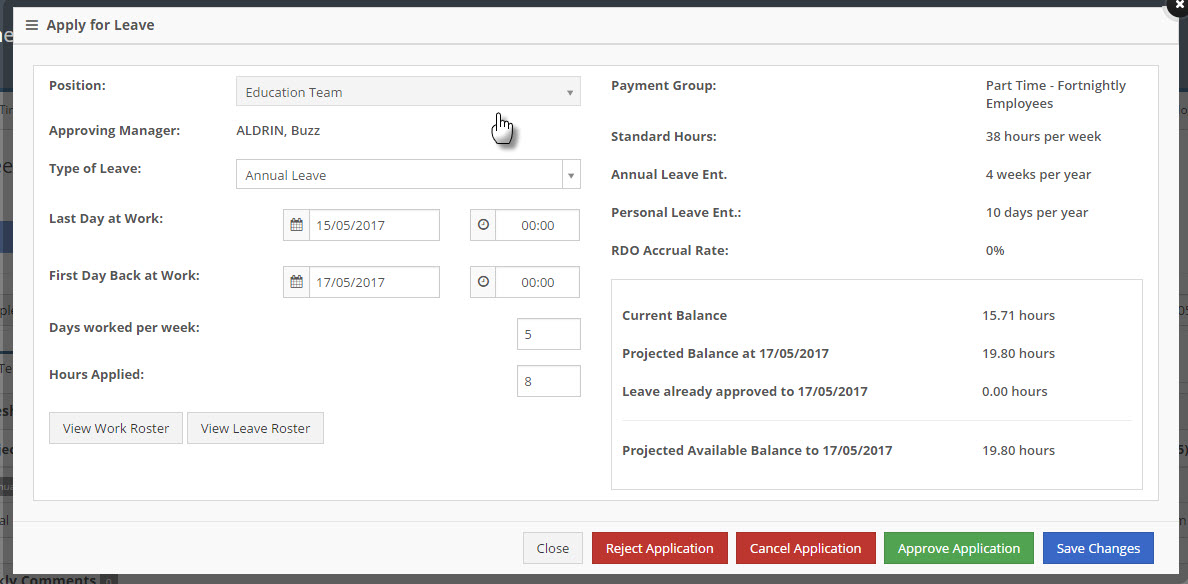
NOTE: You can also make changes to the details on the Leave Application if you want and then click the Save Changes button to update the details of the leave without taking any other action on it.