
In this topic
- Introduction
- Timesheet Statuses
- Step 1: Reviewing the Approved Timesheets
- Step 2: Review the intrepretation (if any)
- Step 3: Publish to Payroll
Introduction
This topic describes how times can be interpreted and transferred to payroll for payment.
This process is typically conducted by a payroll administrator before running the payroll.
The timesheet interpretation and transfer to payroll process comprises 3 steps:
- Review the approved timesheets
- Review the intrepretation (if any)
- Transfer to payroll
NOTE: If you are using Award Interpretation, this process will apply a series of rules to employee hours in order to calculate each employee’s pay entitlements. If you are not using Award Interpretation, this process will use a predefined mapping to allocate employee hours to a paycode.
For the purposes of this article, the term ‘interpretation’ will be used regardless of whether you are using the Award Interpretation engine or paycode mapping.
Timesheet Statuses
Each timesheet day can have any one of five statuses at any time. The following table shows the graphical representation that is used to identify the status of the timesheet status for each day:
| Icon | Meaning |
|---|---|
 |
The timesheet is still open and has not been submitted by the employee. |
 |
The timesheet has been submitted by the employee but is still waiting for approval. |
 |
The timesheet has been approved and is ready for interpretation. |
 |
The timesheet has been rejected and needs to be resubmitted for approval. |
 |
The timesheet has already been intrepreted and paid. |
Step 1: Reviewing the Approved Timesheets
The first step in this process is to review the timesheets for the period.
To review the approved timesheets:
- Go to the Timesheets -> Approvals screen
- Select the payroll that you will be processing timesheets into from the Payroll to pay timesheets to dropdown
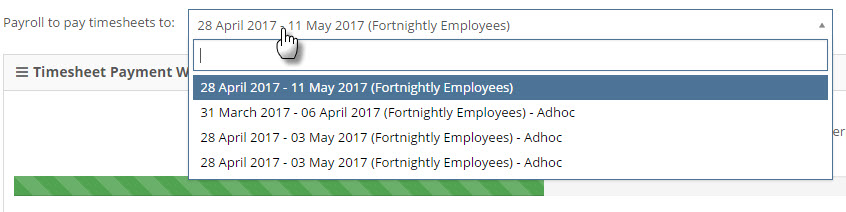
-
The wizard will update to show timesheets for the payroll period for employees in the selected payroll
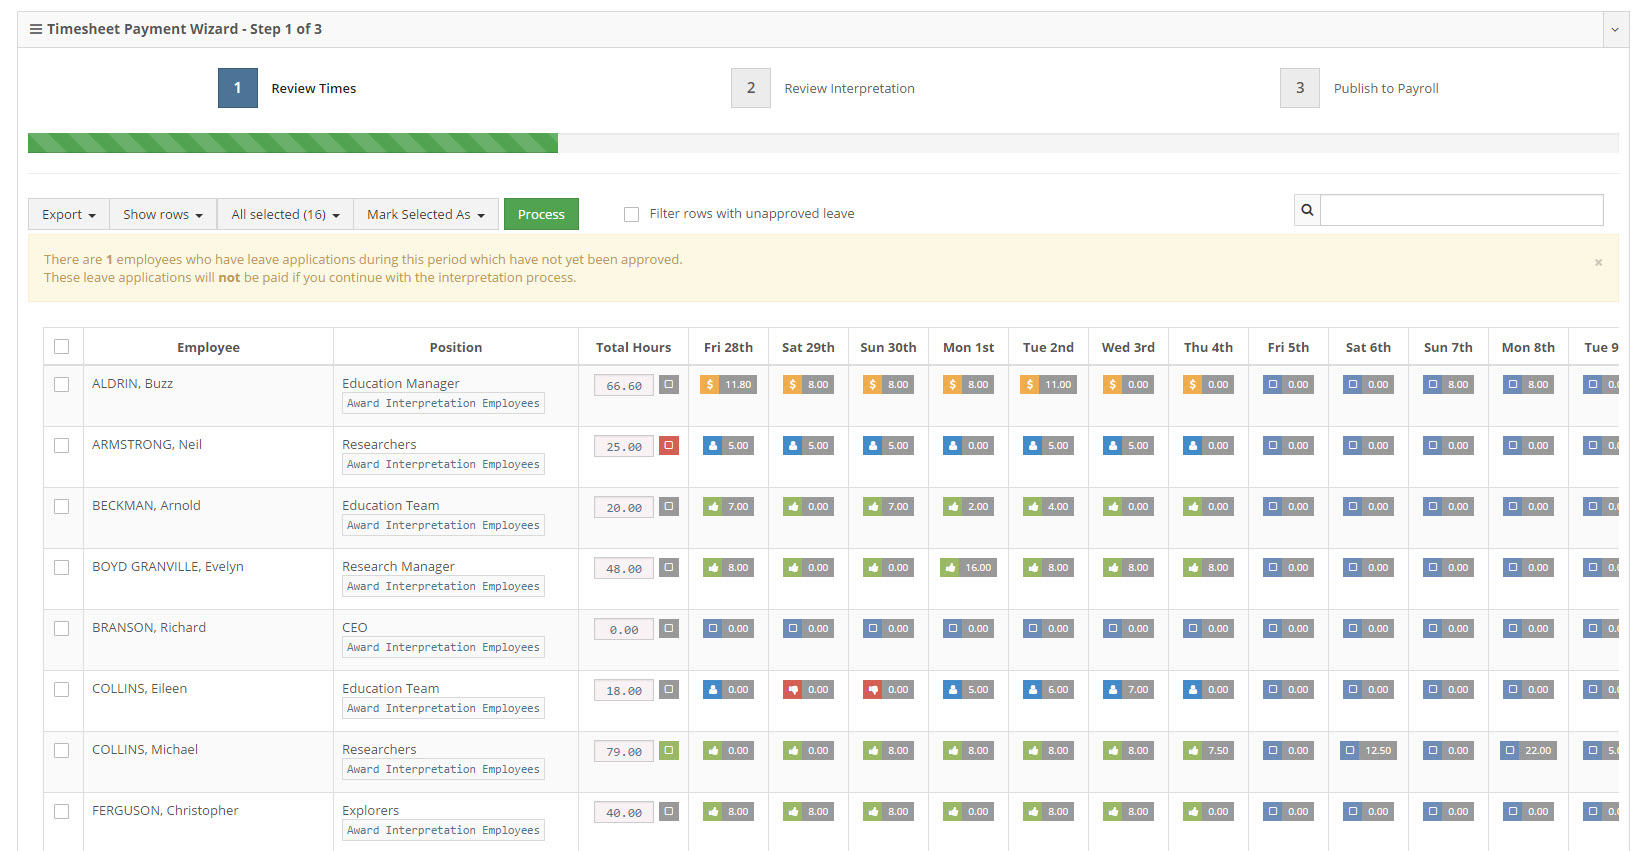
- You should review the timesheet data before processing to Step 2
The wizard will show:- Each employee’s Name
- Each employees Organisation Chart position and the Timesheet Template they are assigned to
- The total hours in their timesheets for the pay period
- The total number of hours in their timesheet per day
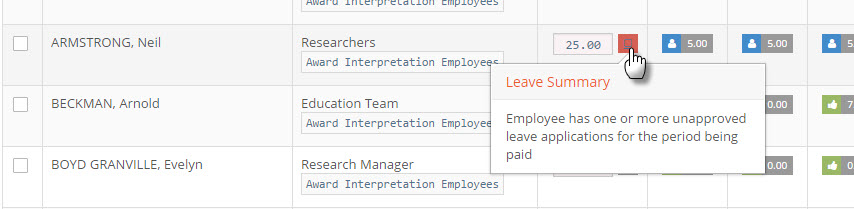
Next to the total hours for the pay period, the icon indicates the status of any leave during the pay period for the employee. Hovering your mouse cursor over the icon will provide more information about the leave and it’s status. - A red icon indicates that the employee has unapproved leave during the pay period. - A green icon indicates that the employee has leave during the period which has been approved already. - A grey icon indicates that there are no leave applications for the employee during the pay period.
 The icon next to each day indicates the status of the timesheet for that day.
NOTE: By default, this screen will show 10 employees per page. To display more employees per page use the Show Rows button. To navigate between pages, use the pagination buttons at the bottom right of the screen.
- Action any required changes:
- Approve any leave/timesheets or follow up with the Leave or Timesheet Approver
- If there are any employee’s whose timesheets are approved, but that you don’t want to be interpreted, you can mark those employees as Not Ready For Payroll by:
- Select the employee(s) using the checkbox to the left of their name
- Click the Mark Selected As button above the employee’s list
- Select Not Ready for Payroll from the sub menu
- After verifying the , click the Step 2 Review Interpretation button to move to Step 2

Step 2: Review the intrepretation (if any)
This step allows you to review and edit the data that will be sent through to payroll.
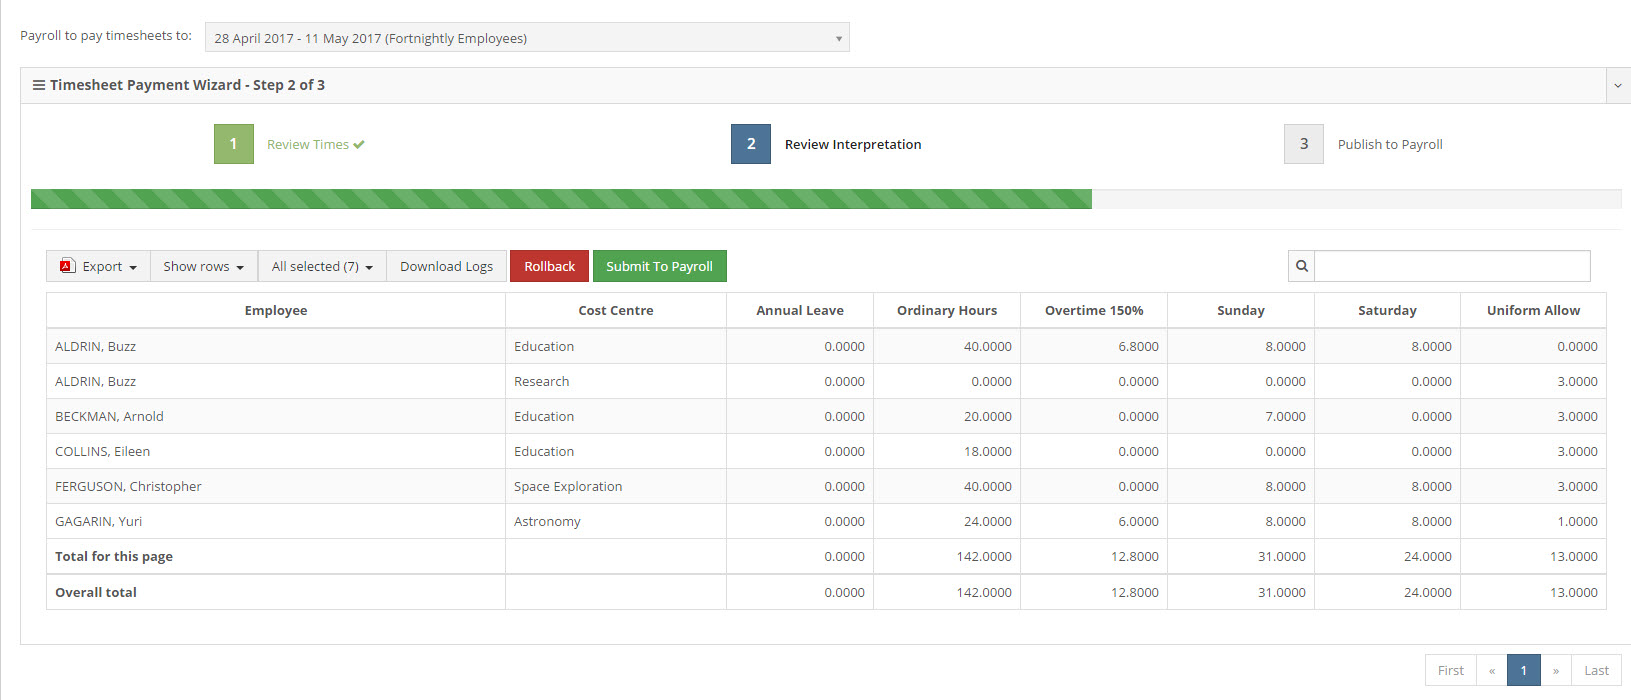
You should check the interpretation for each employee and verify that the details are correct. You can make changes if required by:
- Clicking the Rollback button to return to Step 1 and modify employee timesheets
- Click any paycode value to edit it
TIP: If you find it easier to do your checking in Excel, use the Export button to download the interpretation results in CSV format.
Step 3: Publish to Payroll
This step allows you to transfer the interpreted hours into the payroll.
To transfer the interpreted hours into the payroll:
- Click the Step 3 Publish to Payroll button

- Click Yes in the confirmation dialog
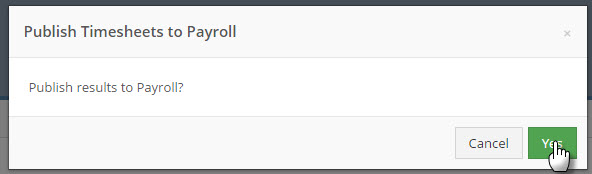
- The interpretation results will now be available in the payroll.