
In this topic
- Introduction
- Accessing the payroll
- Video Overview
- Step 1: Update Employee Hours Worked
- Step 2: Check Verification Reports
- Step 3: Run Payroll & Create Reports
- Step 4: Pay Employees Mark As Paid or Pay Employees Create Bank File
Introduction
In this topic you will be guided through the steps involved to process a payroll.
- Ensure that any new employees have been set up and changes in employee details have been made. This may include ensuring that bank account details have been amended, ensuring that changes to superannuation funds/member numbers have been completed, ensuring that tax file details have been entered and ensuring that all relevant paycodes and payment groups have been added.
- Ensure that any approved leave applications have been transferred to payroll.
- Ensure that any approved expense reimbursements have been transferred to payroll
Accessing the payroll
To access your payroll:
- Go to the Payroll -> Open Payrolls menu item
- Ensure that your required payroll is selected in the Payroll to Process dropdown
- Before proceeding with the payroll, check each of the payroll dates and update if required (Editing Payroll Dates)
Video Overview
Step 1: Update Employee Hours Worked
You’ll be presented with a spreadsheet-like form where you can enter payment details for your employees. Employees run down the left hand side of the screen, and each paycode is in its own column.
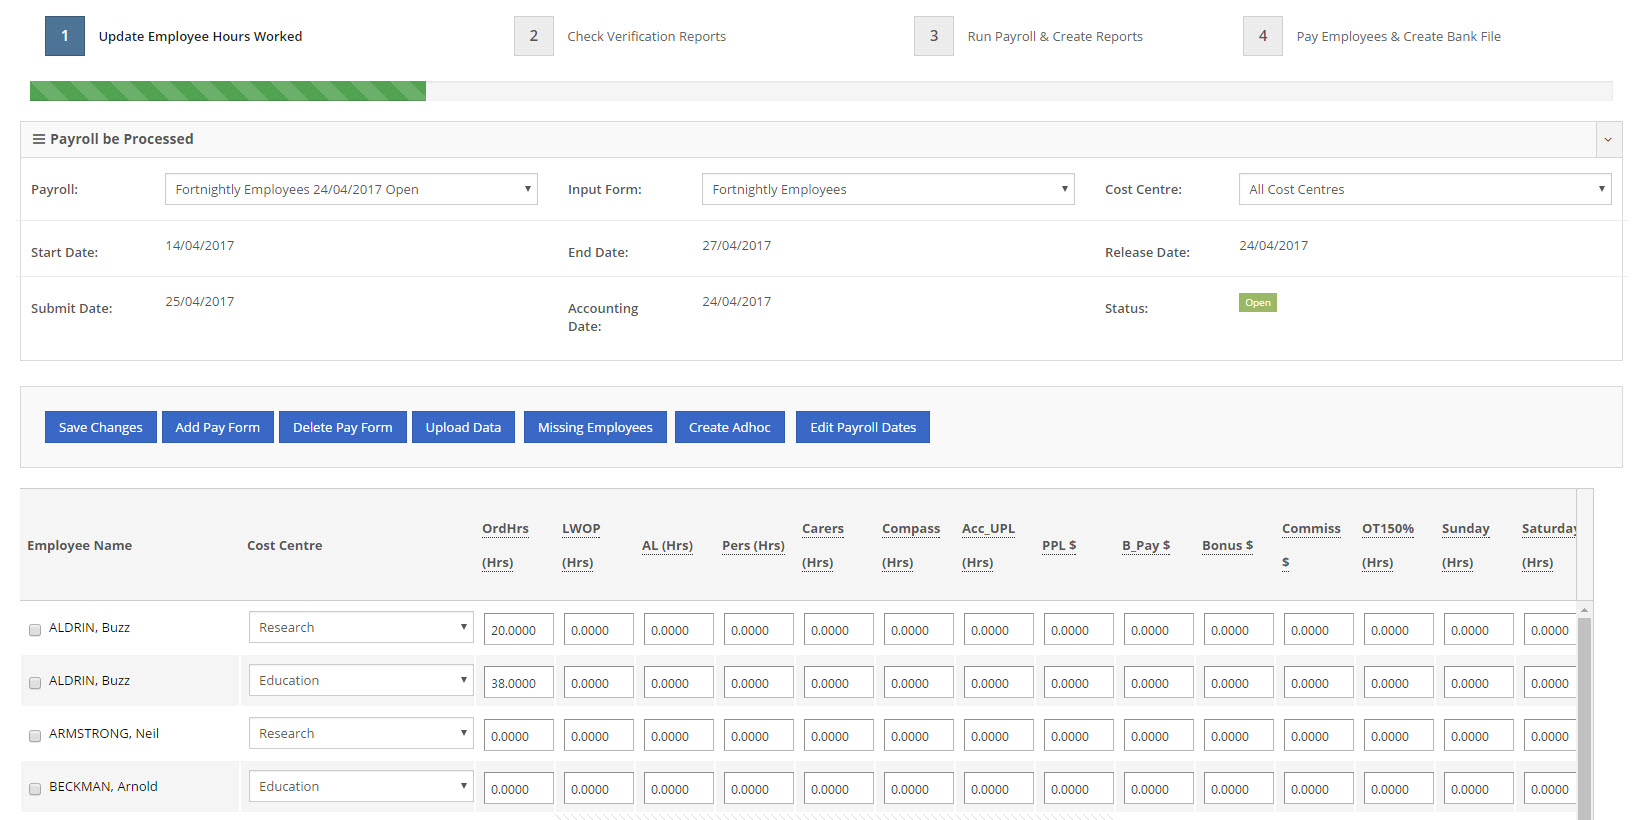
Enter/change any hours as required and then click the Save Changes button
NOTE: If you have a lot of employees, they may be split across multiple pages. You can access different pages using the links at the bottom left of the screen. Remember to click the Save Changes button when moving in between pages.
NOTE: If you are missing a paycode for an employee, you will need to add the paycode to the employee’s Payment Details
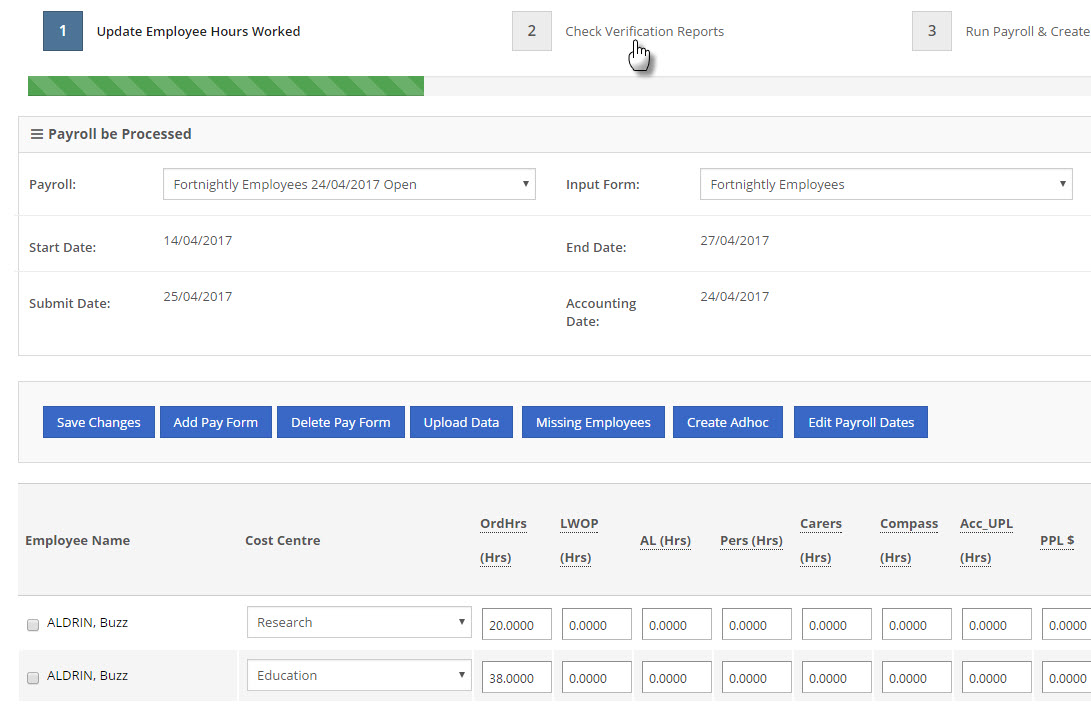
Step 2: Check Verification Reports
At Step 2, your payroll will be run in a sandbox mode, giving you the opportunity to review and verify it before running it. To access Step 2, click the Step 2 Check Verification Reports button
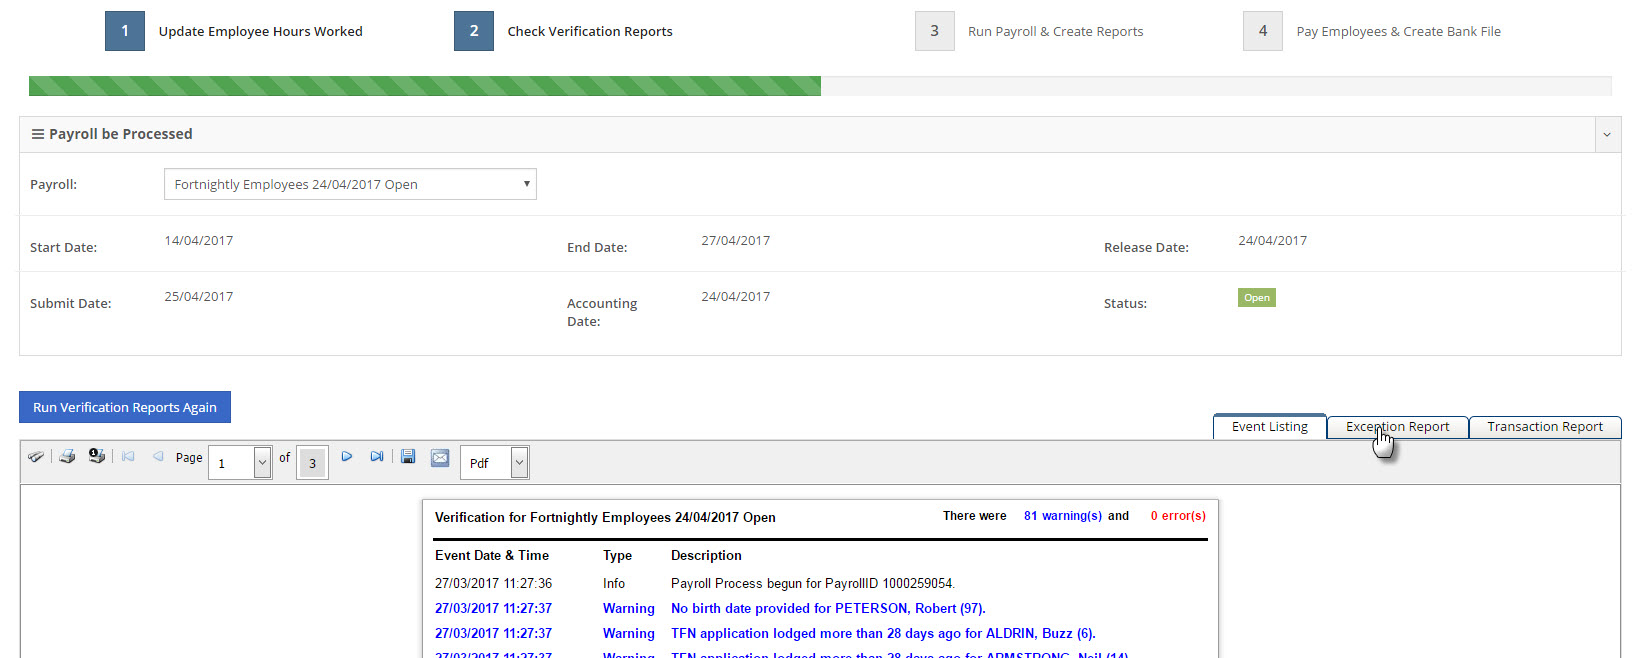
The following three reports will be generated:
| Report | Description |
|---|---|
| Event Listing | This report shows any errors that occurred and displays warnings about potential issues. If there are any errors that you do not understand, please contact your service provider for further advice. |
| Exception Report | This report provides an audit of changes from the previous payroll including changes in pay rates, changes in gross pay, any bank account changes, any new employees and any employees who have changed cost centres. |
| Transaction Report | This report provides a detailed breakdown of each employees pay, including tax and super amounts. |
Check each of these reports by using the links on the right hand side of the screen.
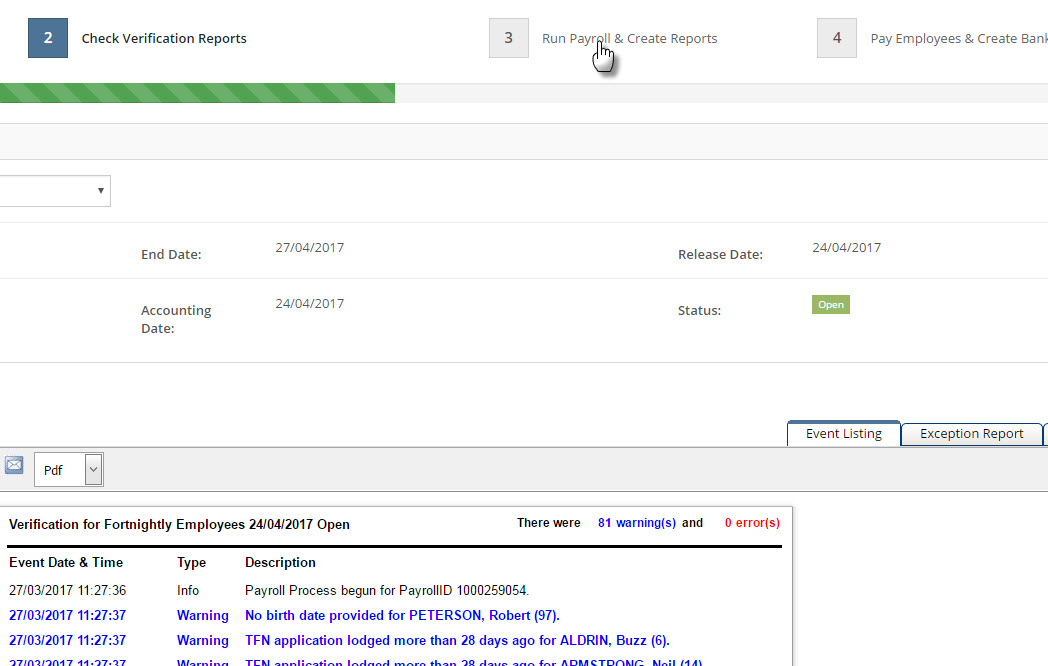
If there are any issues, you can go back to Step 1, or anywhere else in the system, and make any changes that you need to make. Return to Step 2 and check the reports again after making any changes.
NOTE: Do not proceed to Step 3 unless the reports that you see at Step 2 are correct.
Step 3: Run Payroll & Create Reports
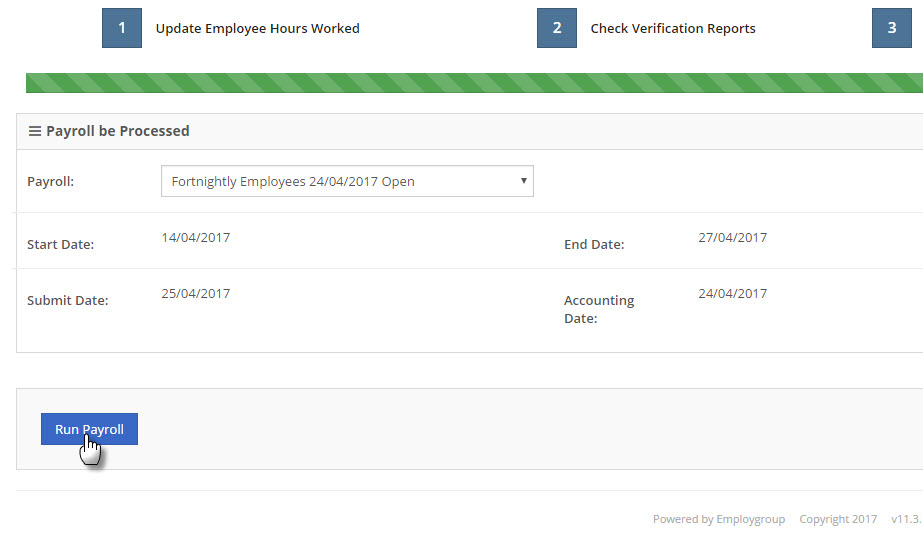
Click the Step 3 Run Payroll and Create Reports button
Click the Run Payroll button
You will see an Event Listing report which you should check for errors or warnings You will also see a Reports tab where you will find your Payroll and Month End Reports
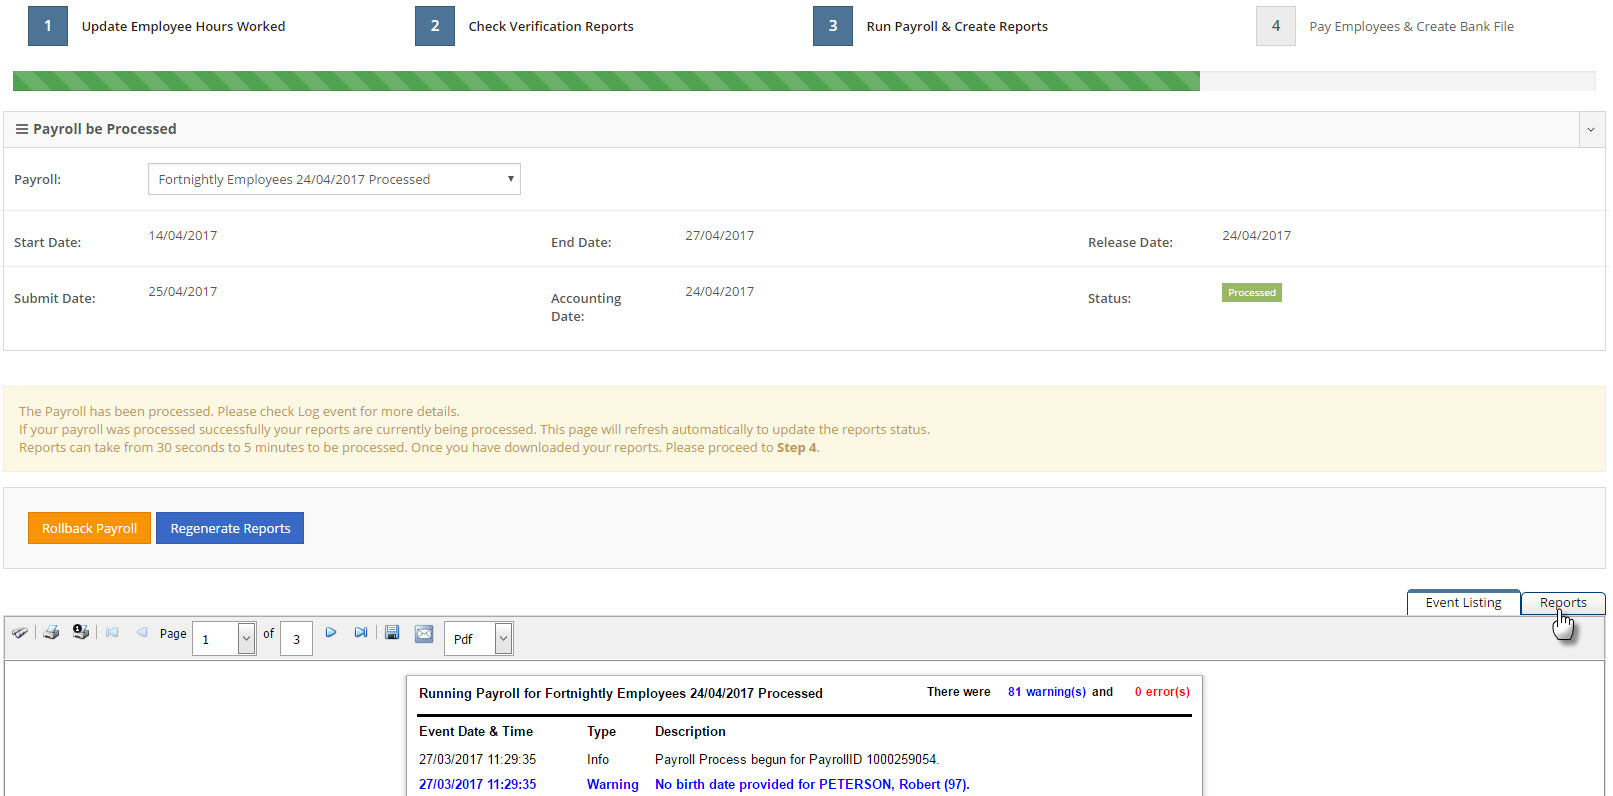
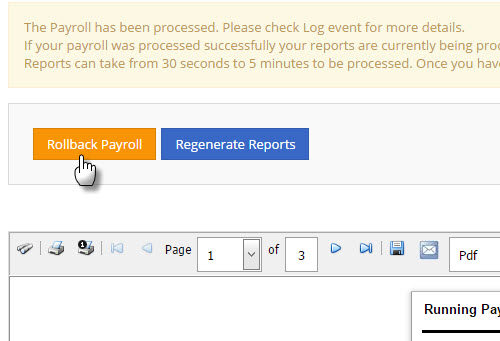
If you decide you need to make changes to your payroll, you still have the option to do so by selecting the Rollback Payroll button. This will roll the payroll back to Step 1. Once rolled back, you will need to repeat Step 2 prior to returning to Step 3.
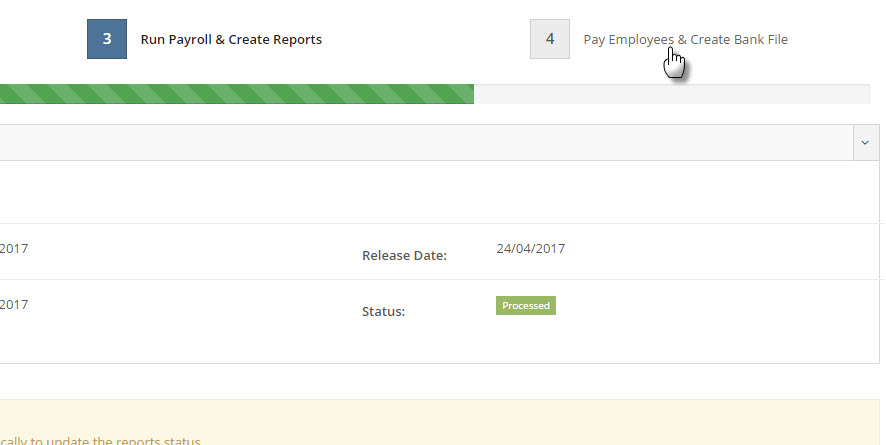
Step 4: Pay Employees Mark As Paid or Pay Employees Create Bank File
This step will finalise your payroll and create your next normal payroll (if you are currently running a normal payroll).
NOTE: After you complete this step, you will no longer be able to rollback your payroll. There will be a limited window of opportunity where Ready pay (powered by ePayroll) support will be able to roll the payroll back, however, this may incur additional charges.
To finalise your payroll click the Pay Employees & Mark As Paid or Pay Employees & Create Bank File
In the confirmation dialog, click the Okay button
Your payroll is now complete and your next payroll will have automatically been created. Any of your employees who have Employee Self Service access will have been sent an email to let them know that their payslip is now available online. If you pay your employees using a bank or ABA file, you can download the generated file from the Reports tab. If Ready pay (powered by ePayroll) pays your employees on your behalf using a TNA or TAC, the payment process will have been initiated.