
In this topic
- Introduction
- Create Leave Schedule
- Step 1: Plan Schedule
- Step 2: Assign Employees
- Step 3: Employee Notifications
- Step 4: Summary
Introduction
This topic describes how to create a Leave Schedule.
Before starting, you should ensure that you’ve assigned the Leave Schedule User web role to the employees who you want to assign to your new Leave Schedule.
Create Leave Schedule
To create a Leave Schedule:
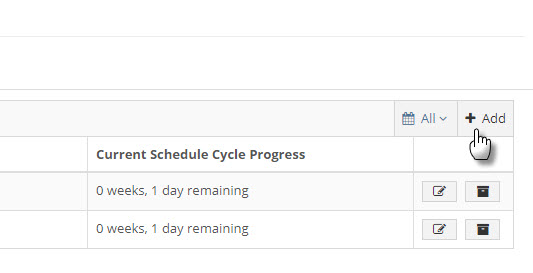
- Go to the Administration -> Leave Schedules screen.
-
On the Schedules tab, click the Add button.
- Follow the instructions for Steps 1 to 4 below to finalise the creation of your leave schedule.
Step 1: Plan Schedule
-
Enter a Schedule Name.
HINT: Provide a name that describes the group of employees that the schedule applies to.
-
Select a Start Date for the schedule. The start date list will show the start date of any payrolls that fall within the search range.
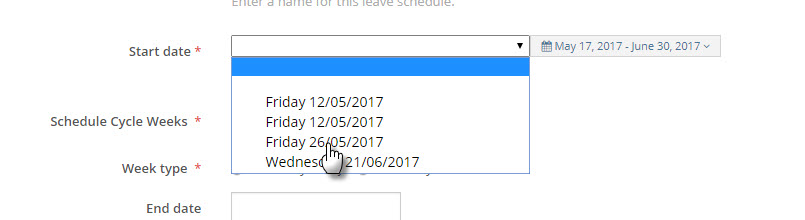
HINT: If you can’t see the desired start date in the list, update the search criteria to the right of the dropdown.
- Enter the number of weeks that the schedule cycles through at the Schedule Cycle Weeks field. For example, if the employees work the same hours every week, enter ‘1’. If they work the same hours every fortnight and then restart the same hours for the following fortnight, enter ‘2’. The maximum allowable weeks in the schedule is 13
- Specify what days the group of employees work:
- For weekend work specify Weekdays & Weekends.
- For weekday work only, specify Weekdays Only.
- Enter an End Date if the schedule will change at a specified point in the future, or leave it blank to create an ongoing, unchanging schedule.
- At the Style field:
- Select Total Hours to specify the total number of hours that the group of employees work each days.
- Select Start/Finish Time to specify the start and finish times each day.
- At the Template field enter the total hours per day or the start and finish times for each day (depending on the option selected at Style field).
- Click the Continue button.
Step 2: Assign Employees
To assign employees to the Leave Schedule:
- Select some search criteria. You can filter on:
- Payment Group
- Cost Centre
- Organisation Chart Position
- Family Name
- Given Name
NOTE: You must use at least one of the search criteria.
- Click the Show me available staff button.
-
Employees matching your search criteria will show in the Available Staff box.
HINT: If the employee(s) you’re expecting don’t show in the list, make sure that they have been assigned the Leave Schedule User web role.
- Move the required employees from the Available Staff box to the Staff to be Scheduled box.
- Click the Continue button.
Step 3: Employee Notifications
The employee notifications step will show you:
- Warnings for employee’s where their default hours on their profile do not match the hours in the leave schedule. This could indicate a misconfiguration either on the employee’s profile or in the Leave Schedule.
- Any employees who will recieve an email notification regarding a change in their Leave Schedule.
These messages should be reviewed. Changes can be made if required by going back to a previous step.
Click the Submit button to create the Leave Schedule.
Step 4: Summary
The summary Screen will show you all employees who:
- Are on the newly created Leave Schedule.
- Are on another Leave Schedule.
- Are not on any Leave Schedule.
Click the Finished button to return to the list of Leave Schedules.